
404 tumbling car
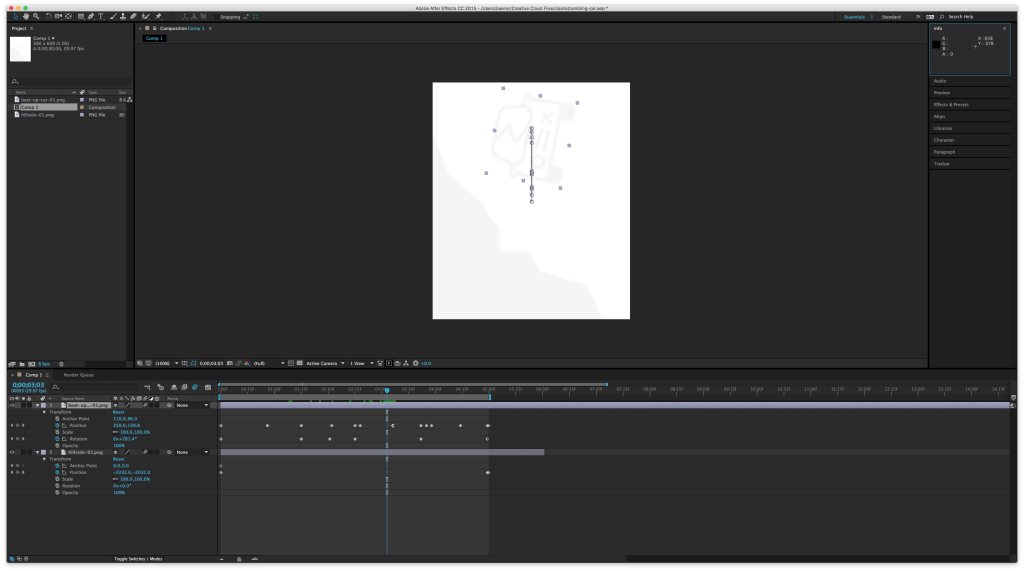
Tumbling car in After Effects
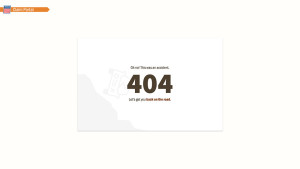
Claim Portal 404
404 tumbling car
Tumbling car in After Effects
Claim Portal 404
When using artboards in Photoshop, your canvas appears white. On a regular PSD, this would be a blank white layer, but on artboards it is a blank transparent slate. Nothing is inside the artboard group. When sharing your PSD via Adobe Extract, you get a big, empty, hard to see canvas.
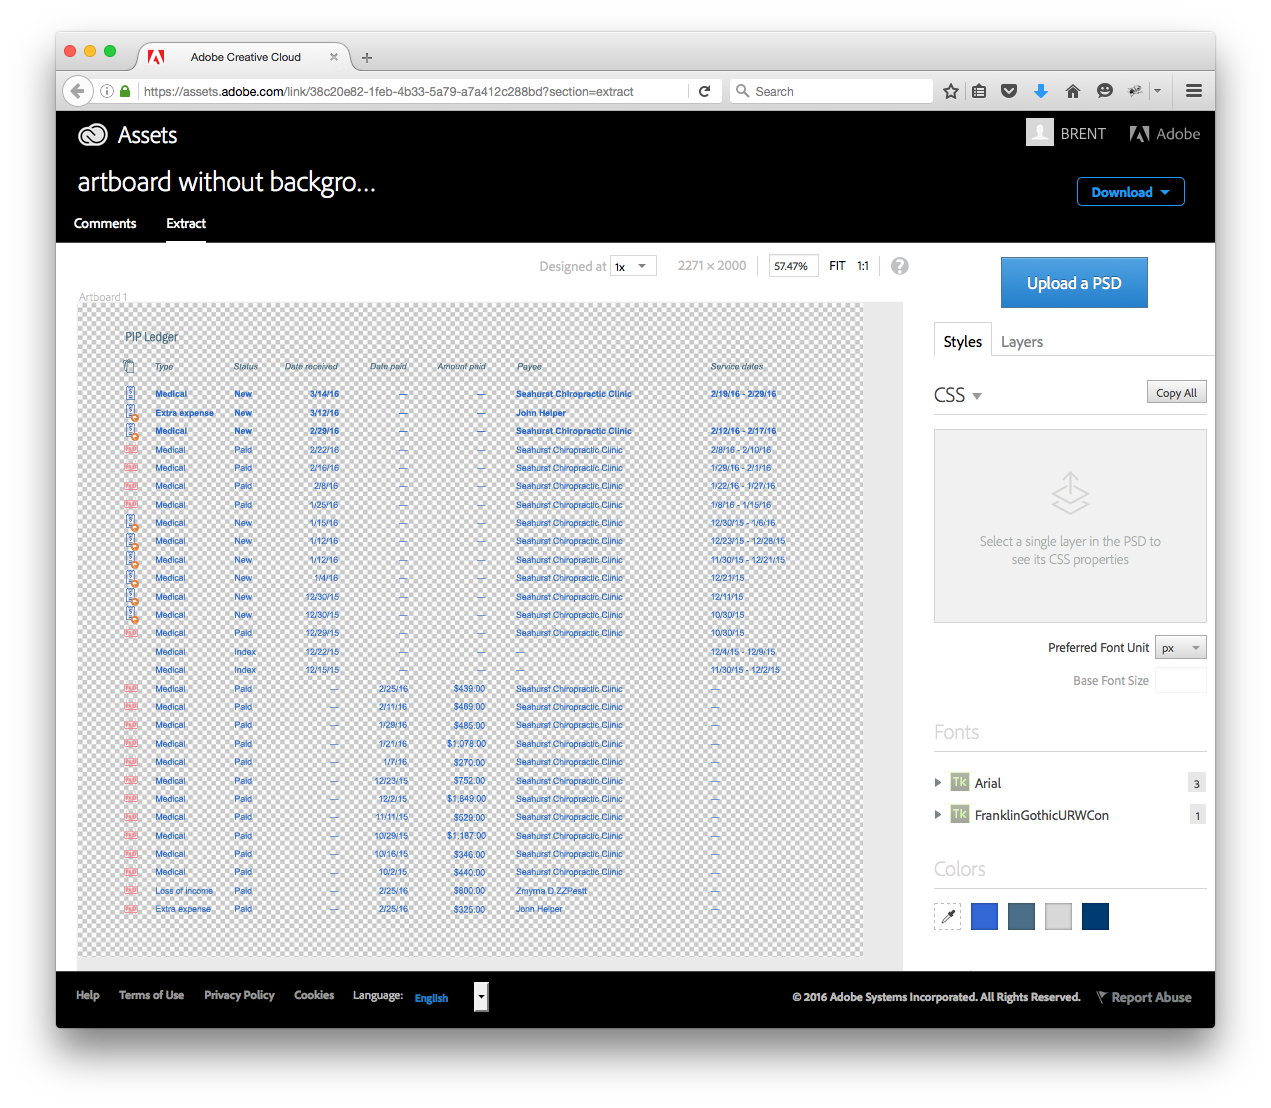
There are times when displaying the transparent alpha in your comp makes sense, but I find that most of the time, sharing artboards with blocks of transparency looks poor and is hard to work with.
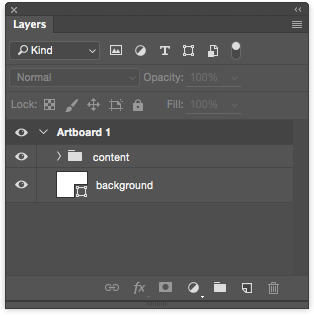
My best practice: place a shape layer as a background. It doesn’t have to be precise, it just needs to cover the entire artboard. Remembering this simple step produces clean comps for your developers to Extract!